Using dedicated prototyping services for die casting guarantees that your initial test units match the exact microstructural grain, density, and mechanical threshold of the final mass-production run.
When developing structural metal parts, relying solely on plastic 3D prints or generic CNC-machined billets can lead to costly late-stage failures. Plastic cannot replicate the thermal dissipation or impact resistance of metal, and machined blocks lack the dense outer “skin” formed during fluid metal solidification.
- Design Verification Early: Discover internal shrinkage porosity, unexpected warping, or stress fractures before releasing millions in capital.
- True Material Properties: Evaluate structural performance under actual load using specified production alloys like Aluminum (A380), Zinc (Zamak 3), or Magnesium.
- Geometric Precision: Verify tight tolerances and ultra-thin walls (under 1.5mm) that other manufacturing methods struggle to achieve smoothly.
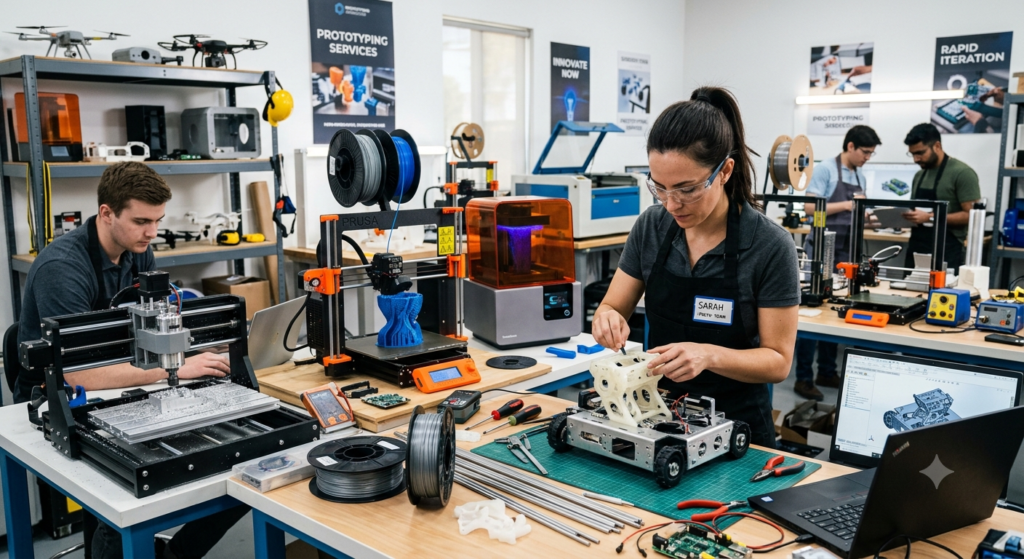
3 Game-Changing Die Cast Prototyping Methods in 2026
Modern prototyping services do not take a one-size-fits-all approach. Depending on your budget, required volume, and timeline, manufacturers deploy a few key hybrid strategies to mimic the high-pressure injection environment.
1. Single-Cavity Prototype Tooling (Rapid Die Casting)
If you require extensive regulatory testing, crash simulations, or field trials of 100 naar 1,000 pieces, single-cavity prototype dies are your best path. This method uses high-speed CNC machining to cut the part geometry into a simplified, single-cavity steel or modular insert base.
The 2026 Advantage: With modern 3D mold simulation software and multi-axis machining, professional prototyping services can deliver true pressure-die-cast parts in just 3 naar 5 weeks—a fraction of the traditional 12-week lead time.
2. Gravity Casting via Plaster or Investment Molds
For low volumes (under 50 pieces) where you just need to test spatial fit and basic functionality, gravity casting acts as an excellent “soft tool” substitute. Prototyping labs start by 3D printing a high-resolution SLA (stereolithography) master pattern, then use it to create plaster or ceramic molds.
While it lacks the intense high pressure of true automated die casting, specialized foundries adjust the alloy blends to closely replicate the ultimate tensile strength of a pressurized component.
3. Hybrid CNC Machining from Cast Billet Stock
When time is down to days rather than weeks, machining your prototype directly from pre-cast alloy billets is highly cost-effective. However, keep in mind that machined parts lack the unique hardened skin created by high-pressure metal solidification, making them roughly 15% weaker.
Expert Tip from the Floor: If your final part will be mass-produced in aluminum, ask your prototyping service provider to machine the prototype out of a specialized zinc-aluminum blend. This clever substitution balances out the structural difference, mimicking the strength of a true aluminum casting.
How Digital Twins and 3D Tooling Keep Prototypes Cost-Effective
One of the greatest shifts in professional prototyping services over the past few years is the death of “guess-and-check” engineering. Today, top-tier service providers utilize integrated virtual prototyping systems.
Before a single drop of molten aluminum is poured, advanced flow simulation software tracks the liquid metal as it fills the virtual cavity. This allows engineers to predict gas entrapment, identify premature cooling zones, and adjust gate positions digitally. Furthermore, the integration of metal 3D printing (specifically Laser Powder Bed Fusion) allows prototyping labs to print complex cooling channels right inside prototype molds, cutting cycle times and producing incredibly clean, defect-free sample parts.
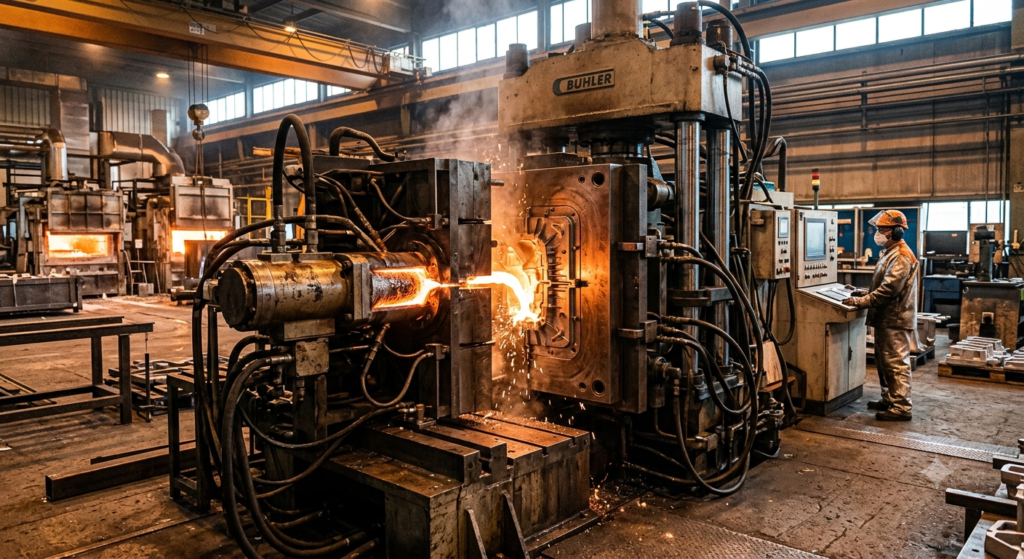
Selecting the Right Prototyping Strategy for Your Timeline
Choosing the right approach requires balancing your specific engineering goals against market launch pressures. Here is a quick reference framework to help align your project goals with the right manufacturing technique:
| Prototyping Goal | Recommended Method | Typical Lead Time | Ideal Production Volume |
| Urgent Form & Fit Verification | CNC Machining from Bar Stock | 3–7 Days | 1–5 pieces |
| Complex Geometry / Visual Display | Gravity / Plaster Mold Casting | 2–3 Weeks | 5–30 pieces |
| Rigorous Functional & Stress Testing | Single-Cavity Rapid Tooling | 3–5 Weeks | 50–1,000+ pieces |
Step-by-Step Checklist: Moving from Concept to Cast Prototype
When launching a project with an external prototyping partner, clear communication prevents manufacturing delays. Follow this sequence to streamline your build:
- Define Your Primary Test Metric: Determine whether your prototype is meant to test aesthetic surface finishes, mechanical load limits, or tight dimensional stack-ups.
- Optimize for Castability (DFM): Ensure your 3D models include proper draft angles (typically 1 naar 2 degrees) and uniform wall thicknesses to facilitate clean part ejection.
- Specify Final Secondary Finishes: Inform your partner if the prototype requires anodizing, powder coating, or precision thread tapping, as these post-processing steps alter final tolerances.
Accelerate Your Launch with the Right Manufacturing Partner
In the hardware world, moving quickly without sacrificing component integrity determines market success. Relying on cutting-edge prototyping services ensures your complex die casting designs are completely validated, perfectly optimized, and ready for seamless scaling.
Don’t let design blind spots stall your production timeline. Partner with a specialized rapid manufacturing team early to turn your high-performance CAD concepts into rugged, production-grade metal reality.